We’re all trying to do our bit to stay home and save lives but one member of the Tempcover team who is going above-and-beyond is our operations co-ordinator, Nina Rowan.
Like everyone here at Tempcover, Nina was inspired by the incredible photos and videos of our brave NHS workers on the frontlines.
Looking through these pictures, she saw that the nurses were finding the facemask straps uncomfortable and even painful after hours of wear.
After hearing about a plea from nurses for headbands, and as a keen sewer, Nina saw this as her opportunity whilst on furlough to contribute to their effort from home and do something really useful with her time while not working.
While Nina is super talented with a needle and thread, you can still help out and make your own headbands, regardless of whether you have a sewing machine or have sewed before.
If you fancy having a go yourself, Nina has very kindly put together this super simple guide with everything you need to know.
Headbands How-To
What you’ll need
A pair of scissors, 2 buttons (approx. 2-3 cm in diameter) elastic, tailor’s chalk or a pencil, thread, a handful of pins, a needle (if hand sewing), a measuring tape, and of course your fabric. The size of fabric you will need can be as little as 20 inches squared.
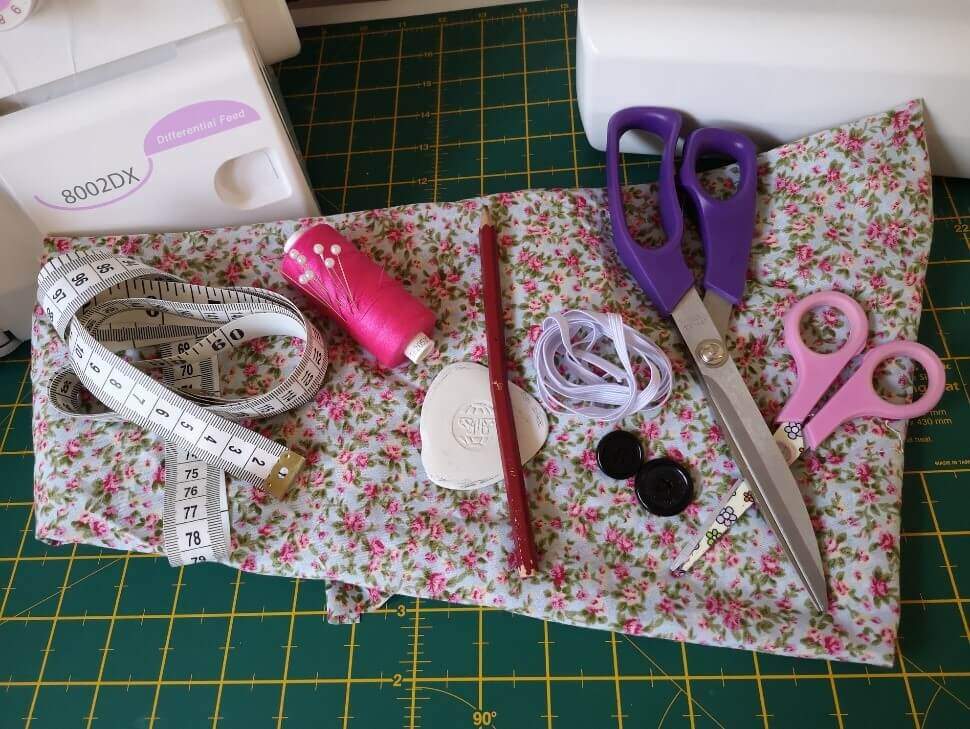
Fabric requirements
You can source fabric online or by asking friends and neighbours to donate, you could even use this as an opportunity to clear out your wardrobe and use the material from old clothes you would have thrown away.
In order to ensure the headband can be used in British hospitals it is advisable to use fabric that can be washed at 60 degrees, as this is currently the requirement for scrubs. Old bedding and synthetic materials are a good choice, but I would recommend testing the fabric by washing prior to sewing if you’re unsure.
Step 1
Using the measuring tape and pencil, measure and mark out piece 1. This needs to be 42cm by 14cm. Cut this piece out.

Step 2
Using the measuring tape and pencil again, measure and cut out piece 2. This needs to be sized 5cm by 30cm.

Step 3
Working on piece 1, fold in half width-ways along the centre. Ensure the ‘outside’ of the fabric is hidden inside the fold, so that the inside of the fabric is showing. Pin in place.

Step 4
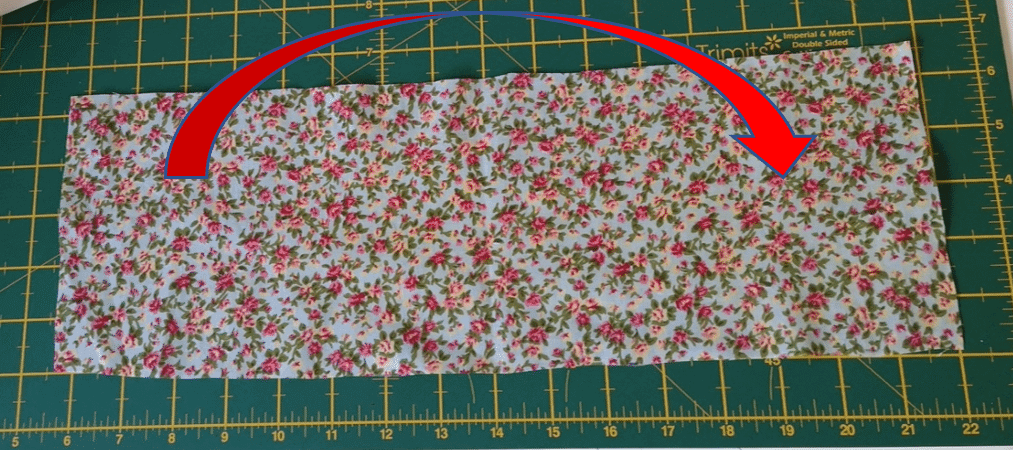
Now place the piece with the fold at the top (as indicated with the red line), now cut the bottom corners at an angle reaching up approx. halfway. Don’t worry about how accurate this is, just cut by eye. It wouldn’t be worth the time it takes to measure the angles and lengths.

Step 5
Remove the pins and unfold the piece back open again.

Now fold the piece 1 in half again, this time lengthways, and remember to make sure the fabric is folded with the outside inside.
To keep the piece in place, you can either pin or sew taking stitches.

Step 6
Next you will need to sew along the edge, this can be handsewn or sewn using a machine or over-locker. Aim to sew the seam approx. 1cm from the edge. Remember this doesn’t need to be exact as it will be hidden on the inside once finished.
Step 7
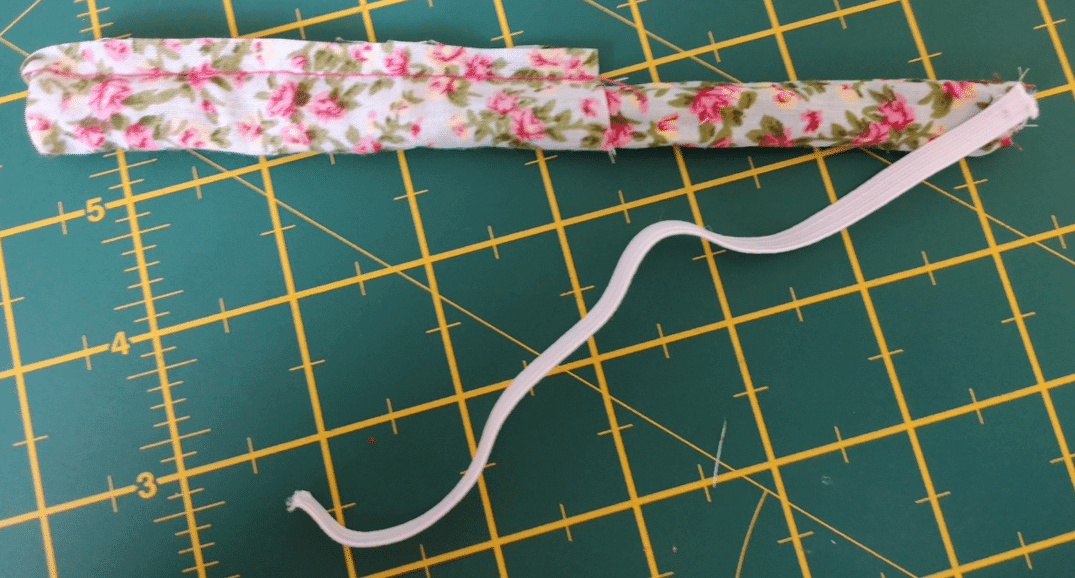
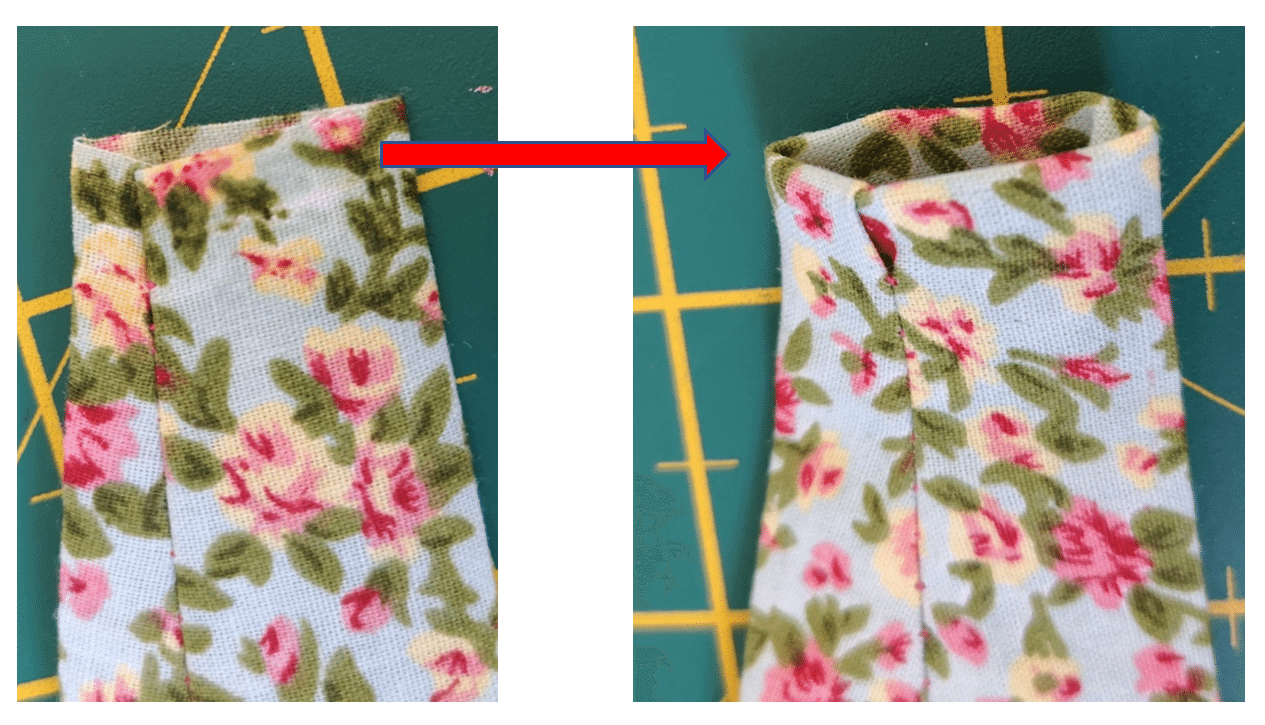
Turn the piece outside in, so that the outside of the fabric is now visible and the stitching is hidden inside. It should look something like this:


Step 8
Now place this piece aside and start working on piece 2. This piece forms the elastic part that sits behind the head and holds the headband in place.
Fold this in half lengthways, making sure the inside of the fabric is now showing on the outside as you did earlier with the first piece. Pin or tack in place.

Step 9
Sew a seam along the edge between approx. 5mm – 1 cm, whatever is easier for you depending on whether you are hand sewing or machine sewing. Just remember a smaller seam with means that the opening at the ends will be larger, and therefore easier later on when turning the piece outside in.

Step 10
Now take your elastic, and cut a piece to 17cm. Remember not to stretch the elastic when measuring and cutting it. It needs to remain slack, otherwise once cut, it will spring back and be too short.

Step 11
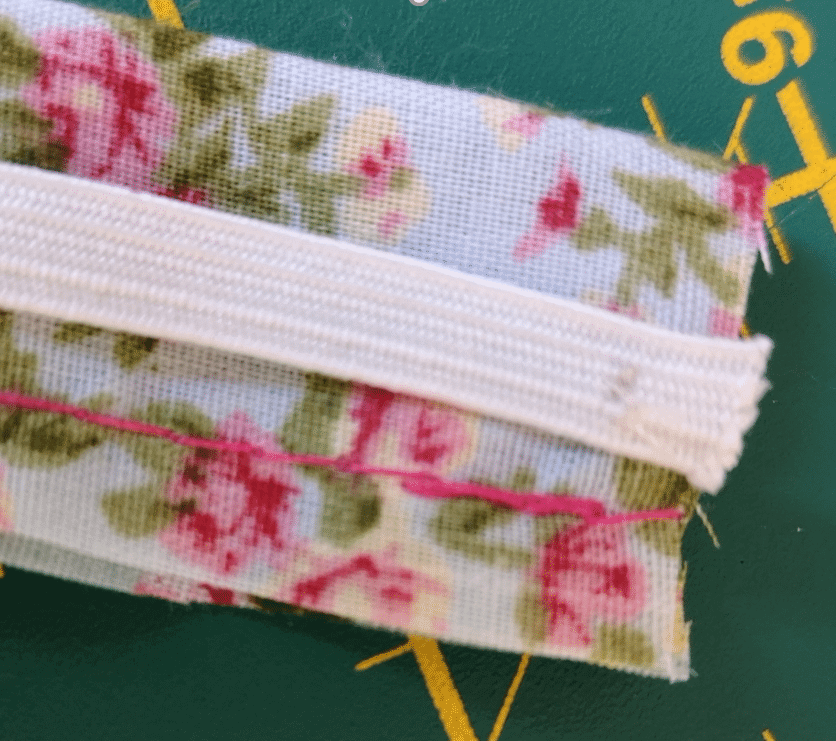
Now tacking stitch, the elastic to piece 2. Place the end of the elastic on the end of the piece and sew with a strong stitch. Ensure you do not sew closed the opening.

Step 12
Now pull the elastic through the centre and out the other side. You will notice that the piece will look ruched, as the elastic is shorter than the fabric. Be careful not to pull too hard which may cause the elastic to detach.

Step 13
Now continue pulling the elastic until the piece is inside out and the seam is hidden inside as you did with the first piece.
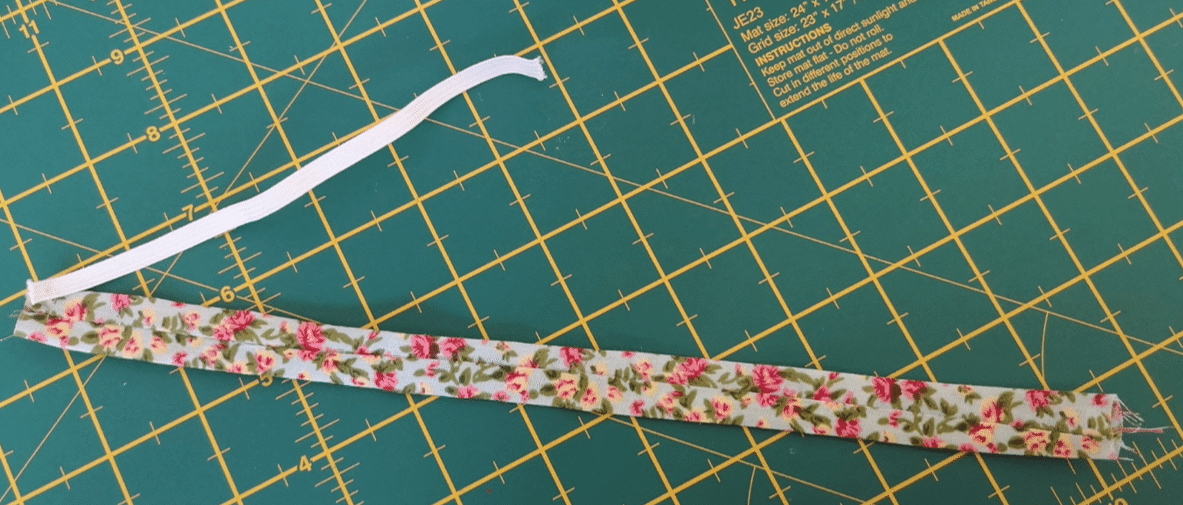
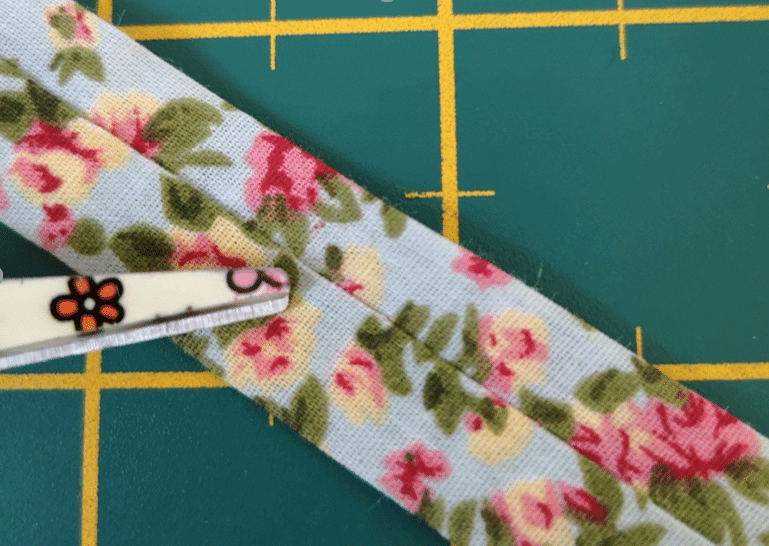
You should notice that the seam is now hidden inside like before.
Step 14
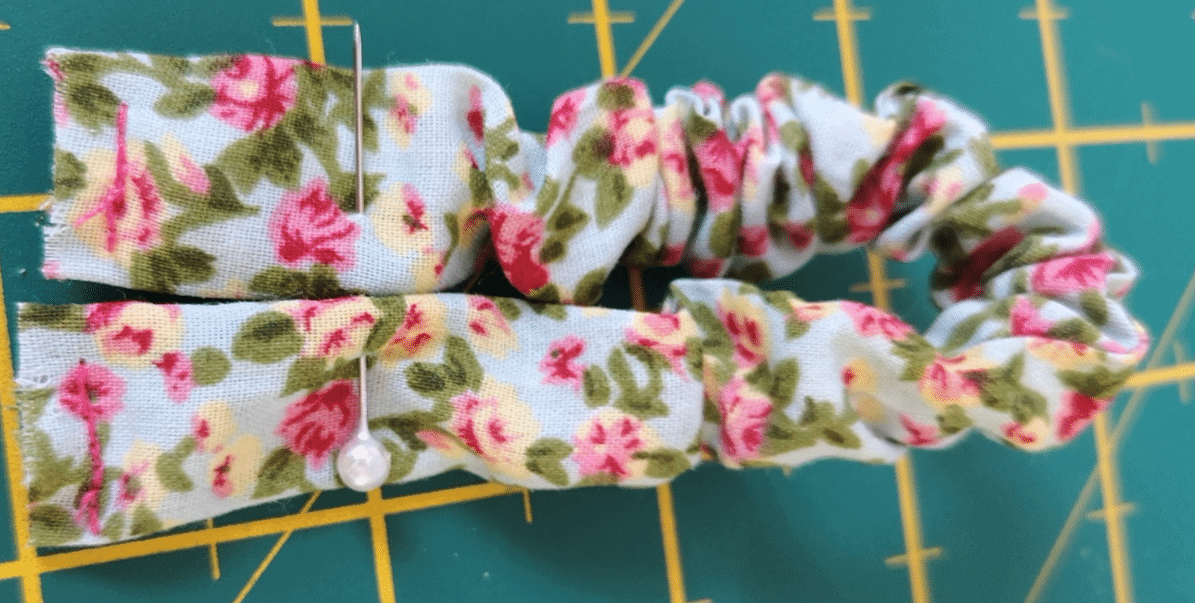
Now you will need to feed the elastic back through the piece as you did previously, but this time pinning it when it reaches the end. It should look ruched like this.

Step 15
Now sew closed both ends, enclosing and securing in place the elastic, make sure these are strong stitches. To do this when hand sewing or machine sewing, double back over the line of stitching. This should be sewn approx. 5mm from the edge of the end.

Step 16
Now place this to the side and return to piece 1. Fold inwards the raw edges of both ends.
Step 17
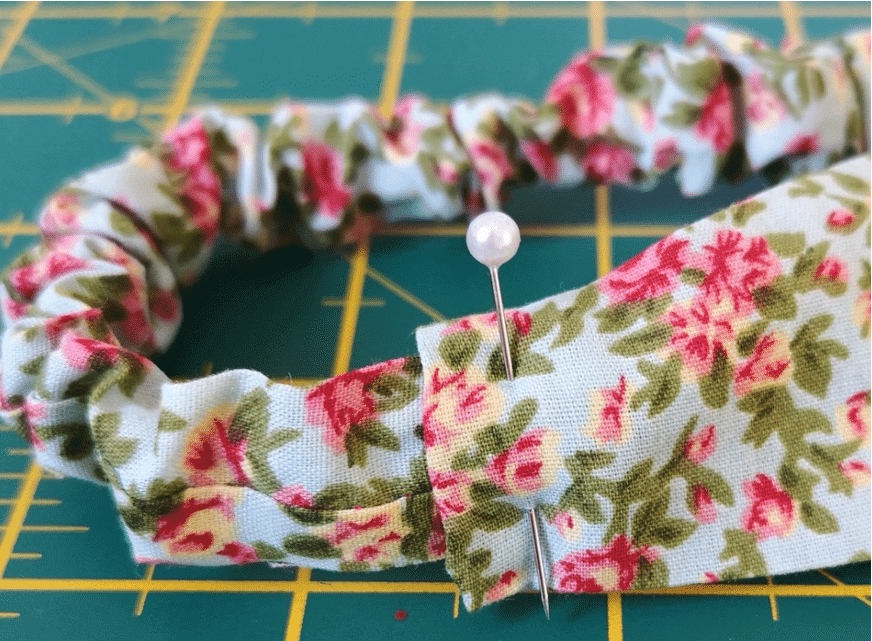
Now insert piece 2 into piece 1 and pin in place. Do this for both ends.

Step 18
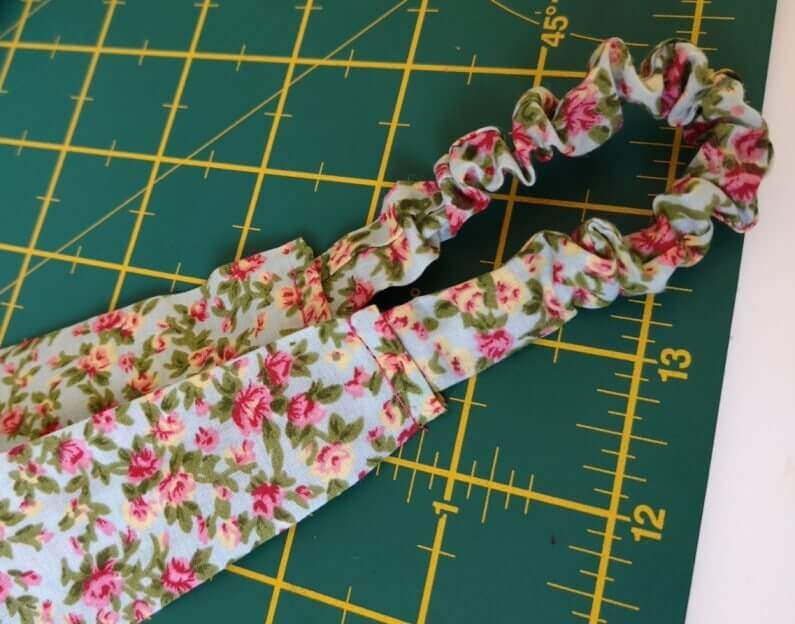
If you’re happy with how it looks and the size, go ahead and sew the joins in place. Like earlier, ensure this is a strong stitch and double back over your line of stitching.
The stitch should be approx. 5mm – 1cm from the edge of the join, depending on the placement of the piece 2.

It should look something like this:
The headband is effectively completed, but to make this a useful headband for those who are wearing facemasks, such as our doctors and nurses, you will need to attach the buttons.
The buttons will need to sit just above the ears, one on each side. The bigger buttons are better, as the facemasks can detach much easier when using the smaller buttons. If you only have small buttons for example small shirt buttons, try sewing two close together, which would create a bigger space to attach the face mask to allow for better grip.
Step 19
The button should be placed in the centre of piece 1, located approx. 5 ½ cm from the joins of pieces 1 & 2. Remember to sew on the buttons tightly and securely.

Once both buttons are sewn on, it should look something like this:


That’s it, you’re done!
We can’t wait to see what you’ve made, remember to post pictures of your wonderful headbands on our Facebook and Twitter pages so we can show off your amazing work.
Now you’ve finished making your first, when you’re ready to donate your headbands, search for your local NHS service here and visit their website for details on how to send in donations.


